We love our cats and have the ability to crochet them their own special beds. This Crochet Cat Bed took me about 4 hours to make from start to finish.
We've rescued our two cats from the SPCA. We took together a worthy organization and these two, who are unrelated.

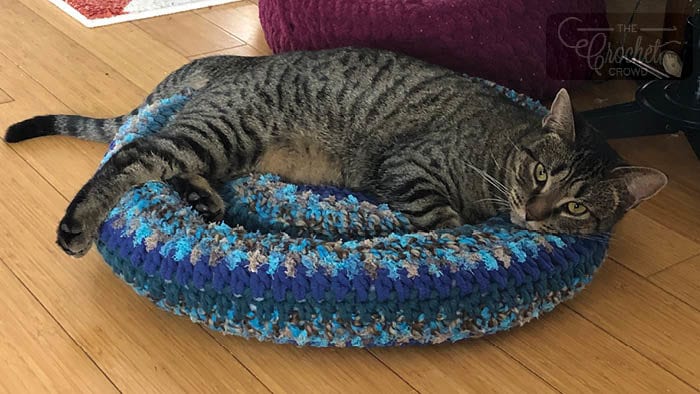
Padded Rim Cat Nap Bed
Easy. Designed by Michael Sellick. Binky Boo is in the bed. See free downloadable for more pictures of how to put the bed together. The bed is 18" diameter and 4" tall.
Materials
2 Balls - Bernat Home Bundle. Teal Deal.
Polyfil is required.
Hook: 10 mm / N Hook
Abbreviations
- Approx = Approximate(ly)
- Beg = Begin(ning)
- Ch = Chain(s)
- Dc = Double crochet
- Rep = Repeat
- RS = Right Side
- Rnd(s) = Round(s)
- Sc = Single crochet
- Sl st = Slip stitch
- Sp(s) = Space(s)
- St(s) = Stitch(es)
Bottom & Sides
Rnd 1: Ch 4, 11 dc in 4th ch from hook. Sl st to top of beg ch.
Rnd 2: Ch 3. Dc in same st as join. 2 dc in each st around. Join with sl st to top of beg ch3.
Rnd 3: Ch 3. Dc in same st as join. Dc in next st. *2 dc in next st, 1 dc in next st. Repeat * around. Join with sl st to top of beg ch-3.
Rnd 4: Ch 3. Dc in same st as join. Dc in next 2 sts. *2 dc in next st, 1 dc in next 2 sts. Repeat * around. Join with sl st to top of beg ch-3.
Rnd 5: Ch 3. Dc in same st as join. Dc in next 3 sts. *2 dc in next st, 1 dc in next 3 sts. Repeat * around. Join with sl st to top of beg ch-3.
Rnd 6: Ch 3. Dc in same st as join. Dc in next 4 sts. *2 dc in next st, 1 dc in next 4 sts. Repeat * around. Join with sl st to top of beg ch-3.
Rnd 7: Ch 3. Dc in same st as join. Dc in next 5 sts. *2 dc in next st, 1 dc in next 5 sts. Repeat * around. Join with sl st to top of beg ch-3.
Rnd 8: Ch 1, 1 sc in each back loop around. Do not sl st at the end of round.
Working in continuous rounds without slip stitching. You will work up the side of the basket.
Rnd 9: Beg hdc in each st continually until sides reach 9” tall from the rnd 8 back loop sc round. When 9” tall, sc in next 3 sts, sl st in next 2 sts. Fasten off.
Inside Bottom Pad
Repeat rnds 1 - 7 from bottom to sides section. Fasten off.
Assembly
Place Bottom & Side Piece on the table. Lightly stuff the middle bottom section. Place the inside bottom pad, right side up, into the middle and sew the middle bottom into position. Do not overstuff the base as it will create a mountain hill in the center of the basket.
Next, equally spread the fluff in the bottom sealed section. Then sew the middle section down to the middle of the one middle to the other.
With the side, fold down the side by adding lots of polyfil stuffing for more firmness to fill it in on the inside of the basket. Sew the top edge of the side to the bottom.
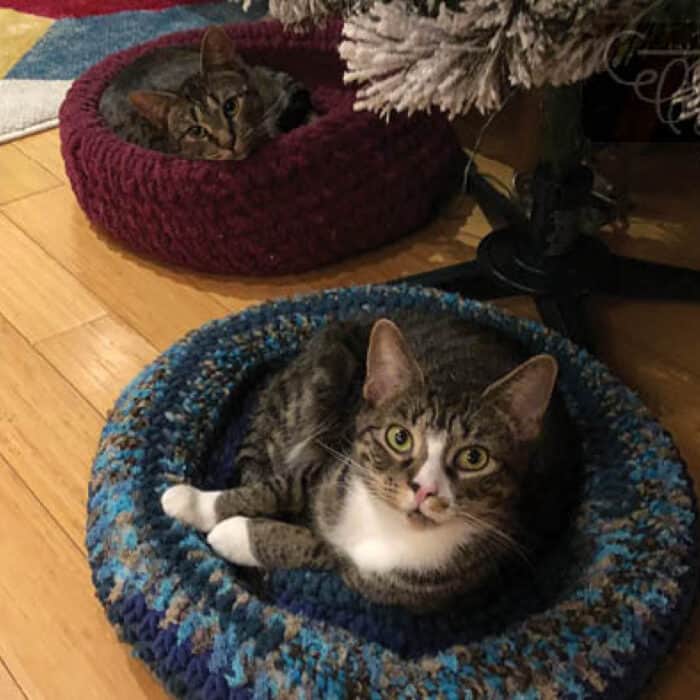
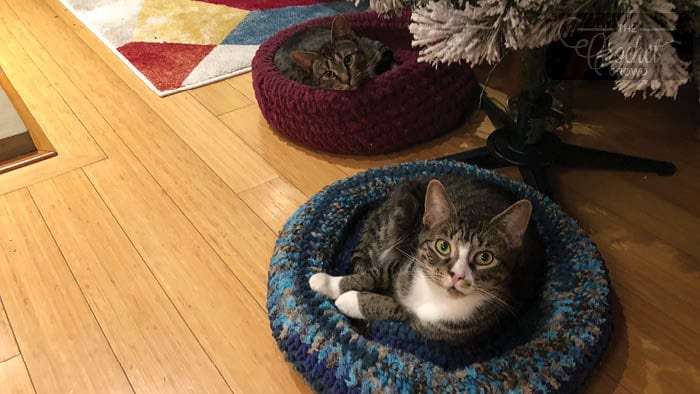
We have 1 improvised cat bed that was the Stitch Along for Joann in Fall 2018. We rolled down the edges of the basket and these two switch places. One sleeps outside the box, the other sleeps in the basket. Out of fairness, I made a second basket.
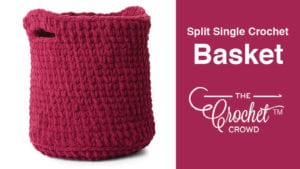
The Split Single Crochet Basket is the original one. They seem to love it. One thing I noticed is that they like to put their heads on the rim of the basket. The folding down of the edge doesn't give the padding they probably prefer.
So I went to the drawing board to figure out what my cats need. So I created a fluffy bottom and folded down the edge over polyfil to give the rim a stable feel.
We noticed, the cats like to place their paws into the crack space as they sleep.
The idea is simple, it keeps them off the floor as they nap. They prefer to sleep in their own baskets than our furniture. That's a win-win for us.
Tutorial
Tutorial has extra advice to skip one of the elements of the sewing.
More Pet Ideas
[the_grid name="Pets"]
Carol Ball says
Love this padded cat basket and have started to make one for my daughter's rescued cat. I'm making with 2 strands of worsted weight yarn, and like Stella (above) asked, I need to know how large the 2 circles should be please?
Mikey says
You will have to leave that with me. I haven't done it that yarn to have an answer for you. When there is more time, I will have recrochet it with the yarn you are suggesting to have an answer. I'm sorry.
Carol Ball says
Thank you for looking into this for us. I thought you would just need to measure the diameter of your cat's bed first 7 rows and let me know without having to crochet it.
Mine is so far:
7 rows done with 2 worsted on size 9mm (sorry that's the largest hook I had) is 12" wide and
8 rows makes a circle 14" wide.
Merci again 🙂
Dana Knox says
Hi Mikey,
Thanks for sharing this nice pattern. I modified it so I wouldn’t have to sew it. I made the insert 1st then the bottom and marked my 1st dc on row 7 on both pieces. Then I did a slip stitch in both loops of the insert and the front loop on bottom, starting with markers or 1st st. Stuffed it, finished joining and continued with row 8. For the sides, I folded them over and slip stitched into back loop of slip stitch above and front loop of last row. I stuffed it as I went along, every 5-10 stitches.